インストール
これらの段落は、Casnodeをサーバーにデプロイするのに役立ちます。 あなたがBTパネルまたはDockerでCasnodeをインストールしたい場合は、詳細を参照してください: BTパネル と Docker.
最初にCasnodeをクローンしてください:
git clone https://github.com/casbin/casnode
自分のフォーラムを簡単に立ち上げるための手順に従ってください!
生産環境
1. Casdoor のセットアップ
Casnodeはメンバーを管理するために Casdoor を使用します。 そのため、CasdoorインスタンスでCasnode用の組織とアプリケーションを作成する必要があります。
Casnode用にCasdoorをセットアップするには、以下の手順に従ってください:
組織の「組み込み」にサインインします
トップバーの 組織 をクリックします。
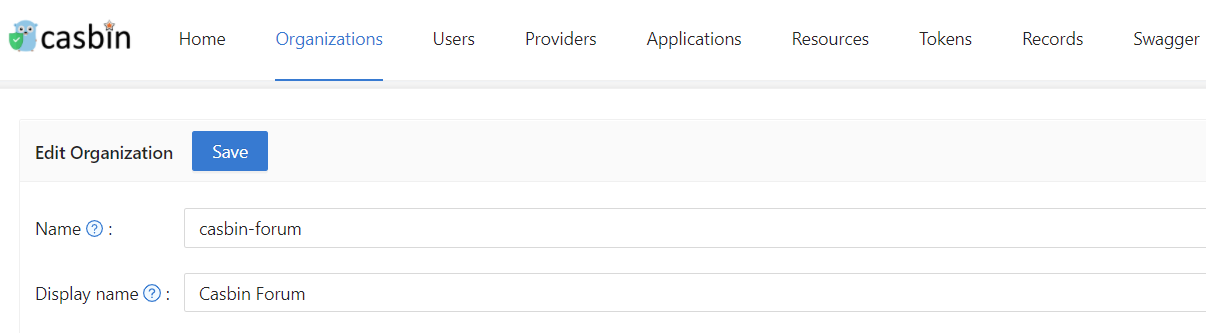
add ボタンをクリックします
Remember the Organization name, here I use casnode as my organization name:
上部バーの アプリケーション をクリックします。
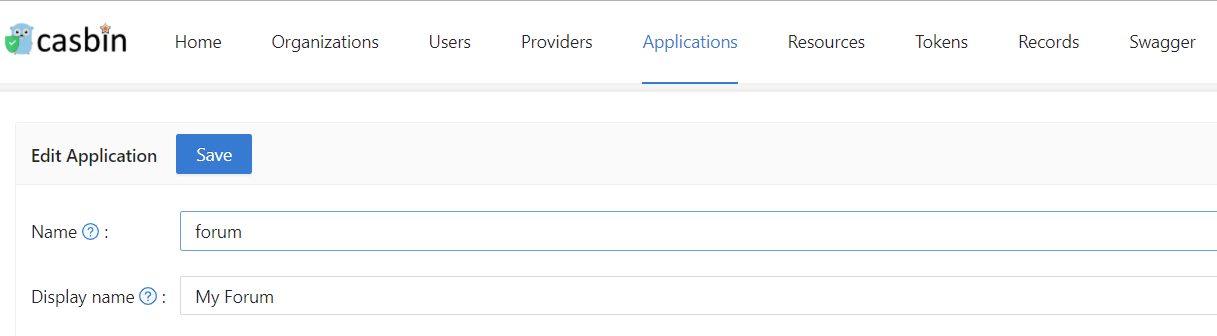
add ボタンをクリックします
アプリケーション名を覚えておいてください。フォーラムをアプリケーション名として使用します:
編集 をクリックしてください
- アプリケーション組織として作成した組織を選択してください

- リダイレクトURLをフォーラムURLに変更します。 If you are in a developing environment, your redirect URL is http://localhost:3000/callback. If you are in a production environment, your redirect URL is http://yourip:7000/callback

- 保存 をクリックし、
クライアント IDとクライアント シークレットを記憶します

2. conf/app.conf を変更する
設定項目の説明は以下の通りです:
Database connection
Casnode database
driverName = mysql
dataSourceName = root:123@tcp(localhost:3306)/
dbName = casnode
Casdoor database
casdoorDbName = casdoor
Casdoor's driverName and dataSourceName are the same as casnode by default. If your Casdoor and Casnode are not in the same database, you can set up the casdoor database in casdoor/adapter.go
Here we provide an example:
Add casdoor configuration in
conf/app.conf:casdoorDriverName =
casdoorDataSourceName =Modify the
func InitCasdoorAdapter():adapter = NewAdapter(beego.AppConfig.String("casdoorDriverName"), beego.AppConfig.String("casdoorDriverName"), beego.AppConfig.String("casdoorDbName"))
Object Storage Service (Casnode uses OSS to store resources)
OSSProvider = ""
accessKeyID     = ""
accessKeySecret = ""
OSSCustomDomain = ""
OSSBasicPath = ""
OSSRegion = ""
OSSEndPoint = ""
OSSBucket = ""
If you can not access Google in normal ways, you need to set up a http proxy here:
httpProxy = "127.0.0.1:10808"
Casdoor config
# Your Casdoor endpoint in step 1
casdoorEndpoint = http://localhost:8000

# Client ID you copied in step 1
clientId = xxx

# Client Secret you copied in step 1
clientSecret = xxx

jwtSecret = CasdoorSecret

# Organization name in step 1
casdoorOrganization = "casnode"
3. web/src/Conf.js を変更する
export const AuthConfig = {
  // Your Casdoor endpoint in step 1
  serverUrl: "http://localhost:7001",

  // Client ID you copied in step 1
  clientId: "014ae4bd048734ca2dea",

  // Application name you copied in step 1
  appName: "app-casnode",

  // Organization name you copied in step 1
  organizationName: "casnode",
};
4. フロントエンドを構築
In folder web, run the following commands:
- Yarn
- npm
yarn install && yarn run build
yarn install
yarn build
5. バックエンドを構築
In repository root, run:
go build
./casnode
Then the Casnode app should run on port 7000. You can setup a nginx proxy pass to manage SSL or something else.
For most of site owners who want to develop a forum using Casnode, steps above is enough. But if you are a developer, want to contribute to Casnode, or modify the code to suit your own environment, then you can run Casnode in the developing mode. Please follow these steps to start developing mode:
開発環境
1. 上記のステップ1-3を行う
4. バックエンドで実行
go run main.go
5. フロントエンドを実行
In web folder:
- Yarn
- npm
yarn install
yarn run start
yarn install
yarn start
Now, Casnode runs its front end at port 3000 and runs it's back end at port 7000. You can modify the code and see what will happen.
The front end uses these codes to determine whether it is a dev mode:
export function initServerUrl() {
  const hostname = window.location.hostname;
  if (hostname === "localhost") {
    ServerUrl = `http://${hostname}:7000`;
  }
}
It means if hostname is localhost, then you are in dev mode. If not, then you are in productive mode. Port of the back end is not same in dev mode and productive mode, so please do not use 127.0.0.1 instead of localhost in your browser in dev mode.