安装
这将有助于您在服务器上部署Casnode 如果您想要通过 BT 面板或 Docker 安装 Casnode ,请在 BT Panel and Docker 查看详细信息。
请先克隆Casnode
git clone https://github.com/casbin/casnode
然后按照这些步骤轻松设置您自己的论坛!
生产环境
1. 设置Casdoor
Casnode 使用 Casdoor 来管理成员。 所以您需要在Casdoor 实例中创建一个组织和一个Casnode 的应用程序。
按照这些步骤设置Casdoor for Casnode:
Casdoor配置向导(点击 此处 获取更多Casdoor详细信息)
登录到机构“built-in”
点击顶部栏中的 Organizations
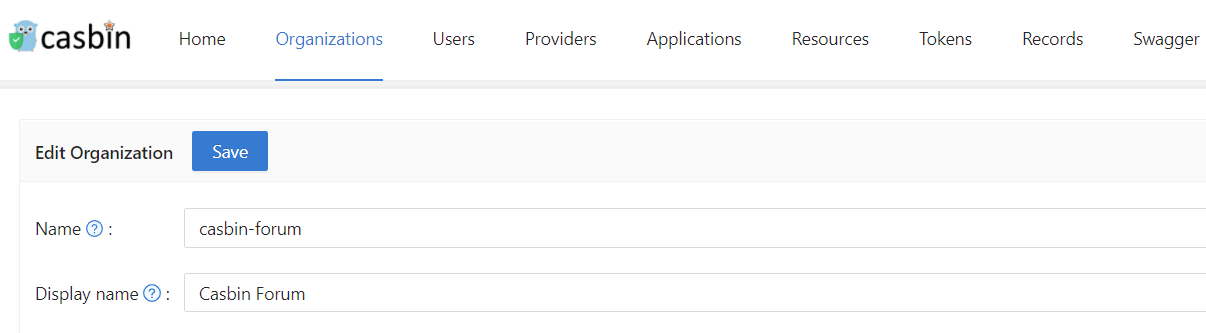
点击 添加 按钮
Remember the Organization name, here I use casnode as my organization name:
点击 顶部栏中的应用程序
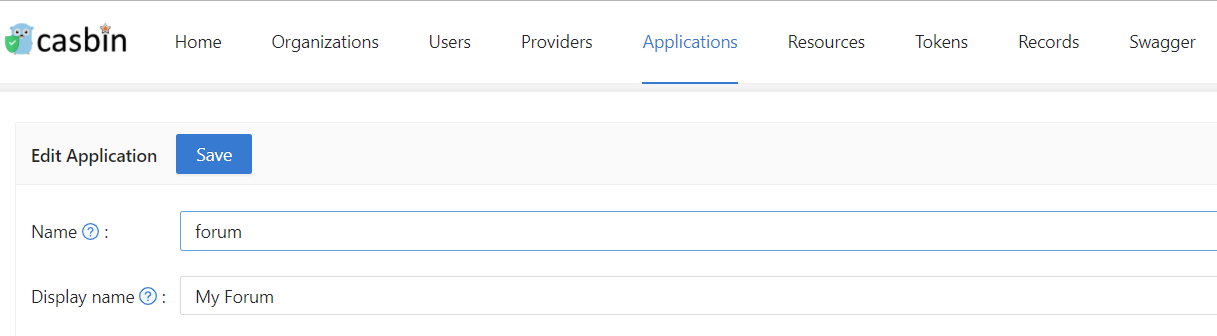
点击 添加 按钮
记住应用程序名称, 这里我使用论坛作为我的应用程序名称:
点击 编辑
- 选择您刚刚创建的组织作为应用程序组织

- 修改重定向URL到论坛 URL。 If you are in a developing environment, your redirect URL is http://localhost:3000/callback. If you are in a production environment, your redirect URL is http://yourip:7000/callback
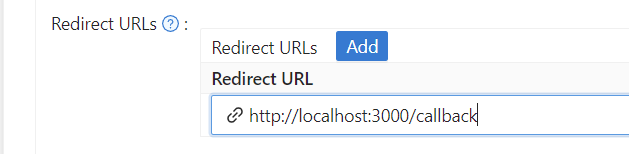
- 点击 保存 并记住
客户端 ID和客户端密钥

2. 修改 conf/app.conf
以下是配置项目的解释:
Database connection
Casnode database
driverName = mysql
dataSourceName = root:123@tcp(localhost:3306)/
dbName = casnode
Casdoor database
casdoorDbName = casdoor
Casdoor's driverName and dataSourceName are the same as casnode by default. If your Casdoor and Casnode are not in the same database, you can set up the casdoor database in casdoor/adapter.go
Here we provide an example:
Add casdoor configuration in
conf/app.conf:casdoorDriverName =
casdoorDataSourceName =Modify the
func InitCasdoorAdapter():adapter = NewAdapter(beego.AppConfig.String("casdoorDriverName"), beego.AppConfig.String("casdoorDriverName"), beego.AppConfig.String("casdoorDbName"))
Object Storage Service (Casnode uses OSS to store resources)
OSSProvider = ""
accessKeyID     = ""
accessKeySecret = ""
OSSCustomDomain = ""
OSSBasicPath = ""
OSSRegion = ""
OSSEndPoint = ""
OSSBucket = ""
If you can not access Google in normal ways, you need to set up a http proxy here:
httpProxy = "127.0.0.1:10808"
Casdoor config
# Your Casdoor endpoint in step 1
casdoorEndpoint = http://localhost:8000

# Client ID you copied in step 1
clientId = xxx

# Client Secret you copied in step 1
clientSecret = xxx

jwtSecret = CasdoorSecret

# Organization name in step 1
casdoorOrganization = "casnode"
3. 修改 web/src/Conf.js
export const AuthConfig = {
  // Your Casdoor endpoint in step 1
  serverUrl: "http://localhost:7001",

  // Client ID you copied in step 1
  clientId: "014ae4bd048734ca2dea",

  // Application name you copied in step 1
  appName: "app-casnode",

  // Organization name you copied in step 1
  organizationName: "casnode",
};
4. 构建前端
In folder web, run the following commands:
- Yarn
- npm
yarn install && yarn run build
yarn install
yarn build
5. 重建后端
In repository root, run:
go build
./casnode
Then the Casnode app should run on port 7000. You can setup a nginx proxy pass to manage SSL or something else.
For most of site owners who want to develop a forum using Casnode, steps above is enough. But if you are a developer, want to contribute to Casnode, or modify the code to suit your own environment, then you can run Casnode in the developing mode. Please follow these steps to start developing mode:
开发环境
1. 执行上文第1-3步
4. 运行后退结束
go run main.go
5. 运行前端
In web folder:
- Yarn
- npm
yarn install
yarn run start
yarn install
yarn start
Now, Casnode runs its front end at port 3000 and runs it's back end at port 7000. You can modify the code and see what will happen.
The front end uses these codes to determine whether it is a dev mode:
export function initServerUrl() {
  const hostname = window.location.hostname;
  if (hostname === "localhost") {
    ServerUrl = `http://${hostname}:7000`;
  }
}
It means if hostname is localhost, then you are in dev mode. If not, then you are in productive mode. Port of the back end is not same in dev mode and productive mode, so please do not use 127.0.0.1 instead of localhost in your browser in dev mode.